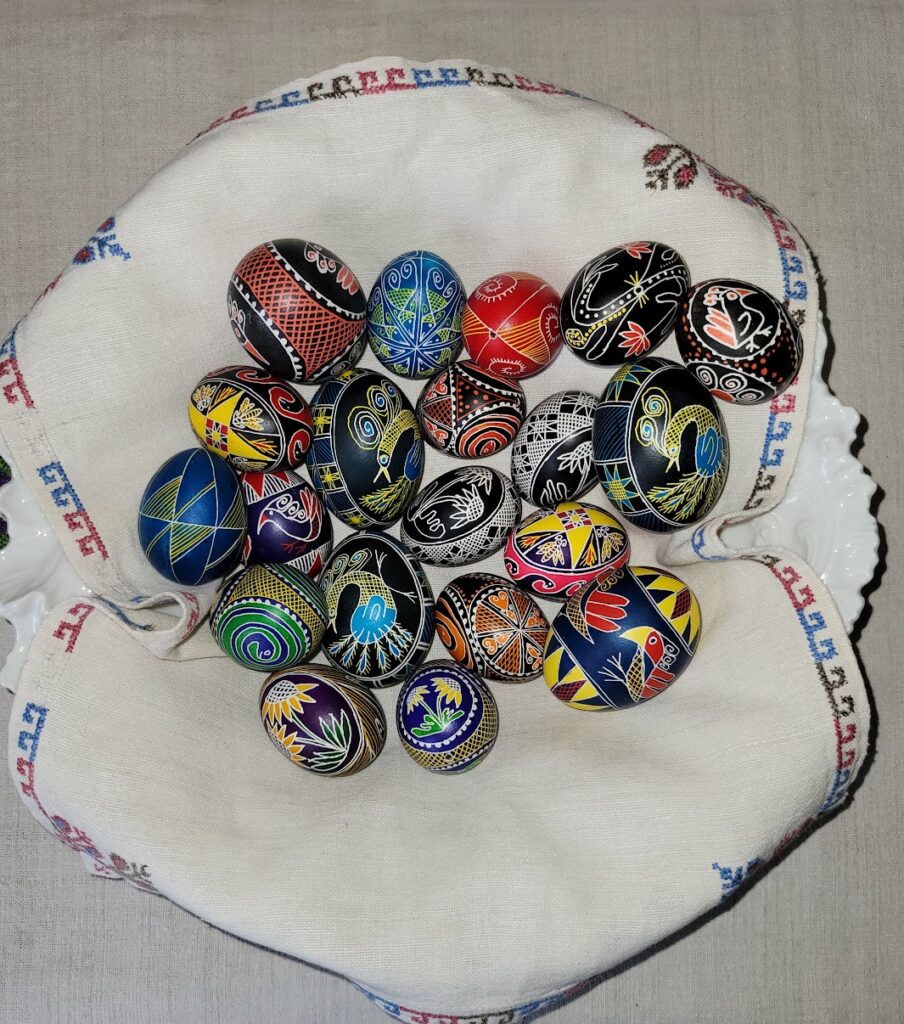
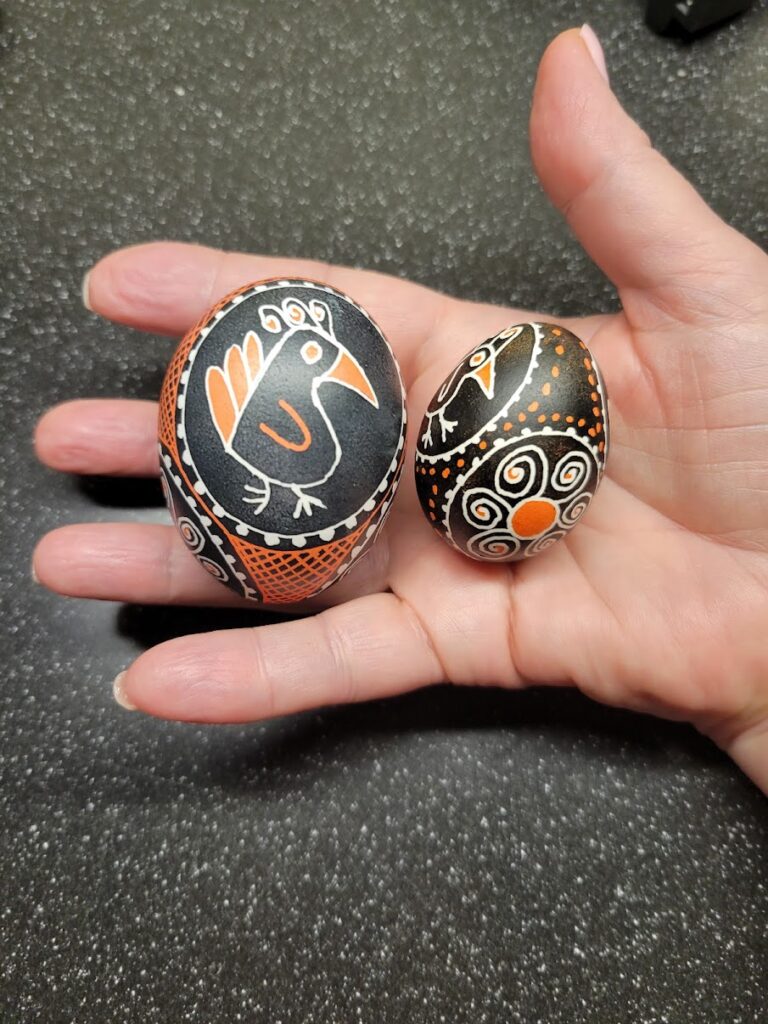
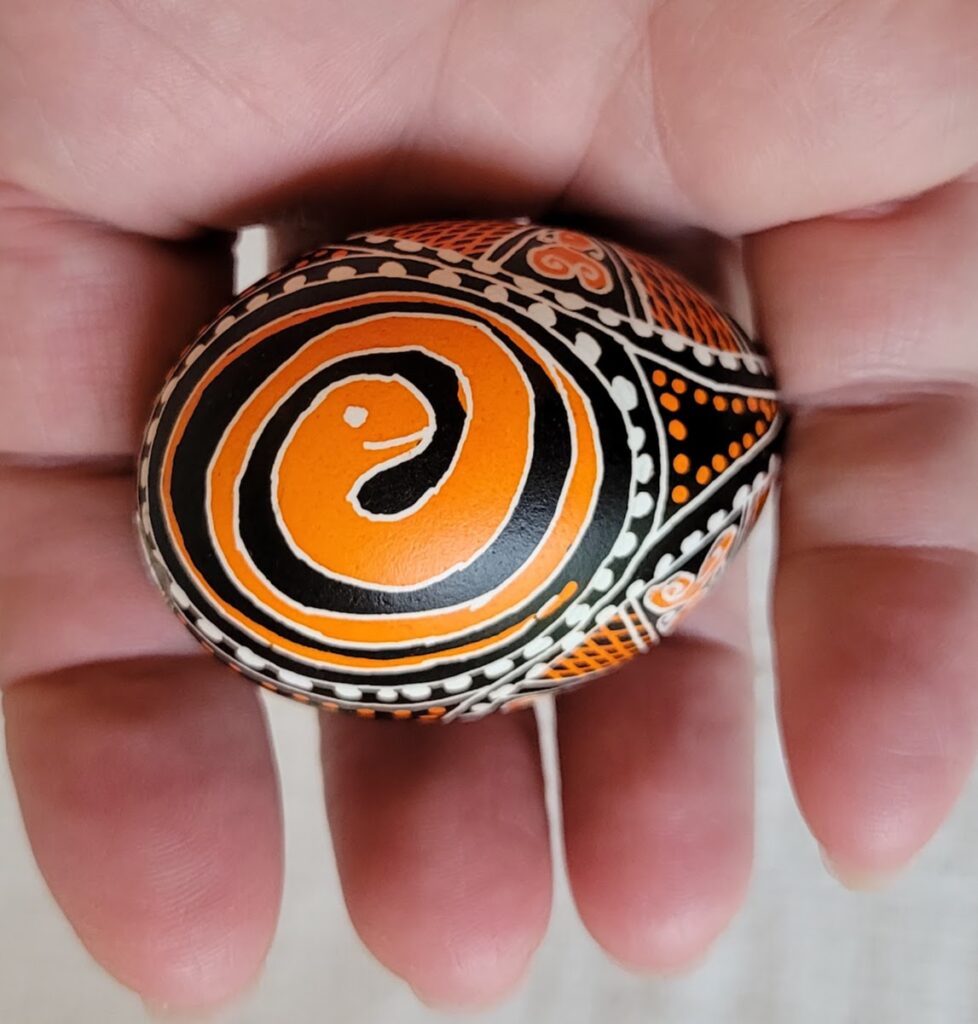
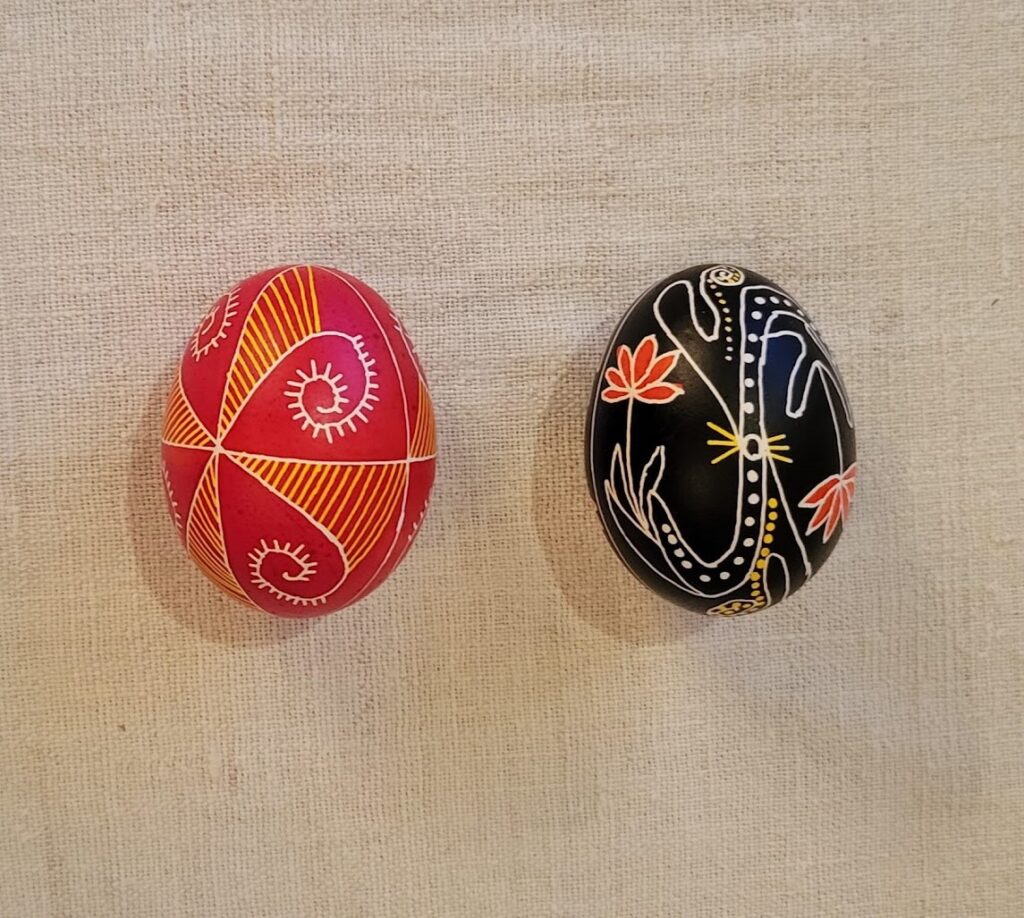
I still have a few pee wee eggs left and am trying to use them up while they’re still fresh enough to sink in the dye. I had a massive edit to do in the last few weeks and hadn’t done much of anything else, so writing 5 pysanky over the weekend was glorious. I wanted to try an old favorite division — 4 circles. These two pysanky have the 4 circles. I’m very pleased with the orange and black fish and snake egg!
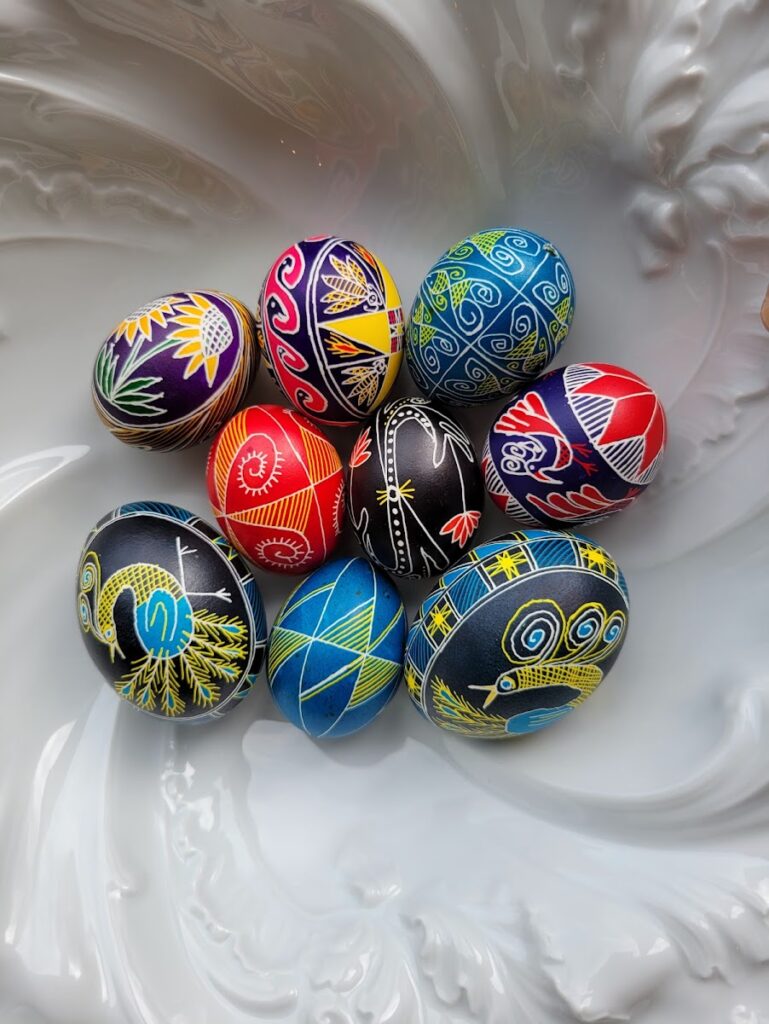
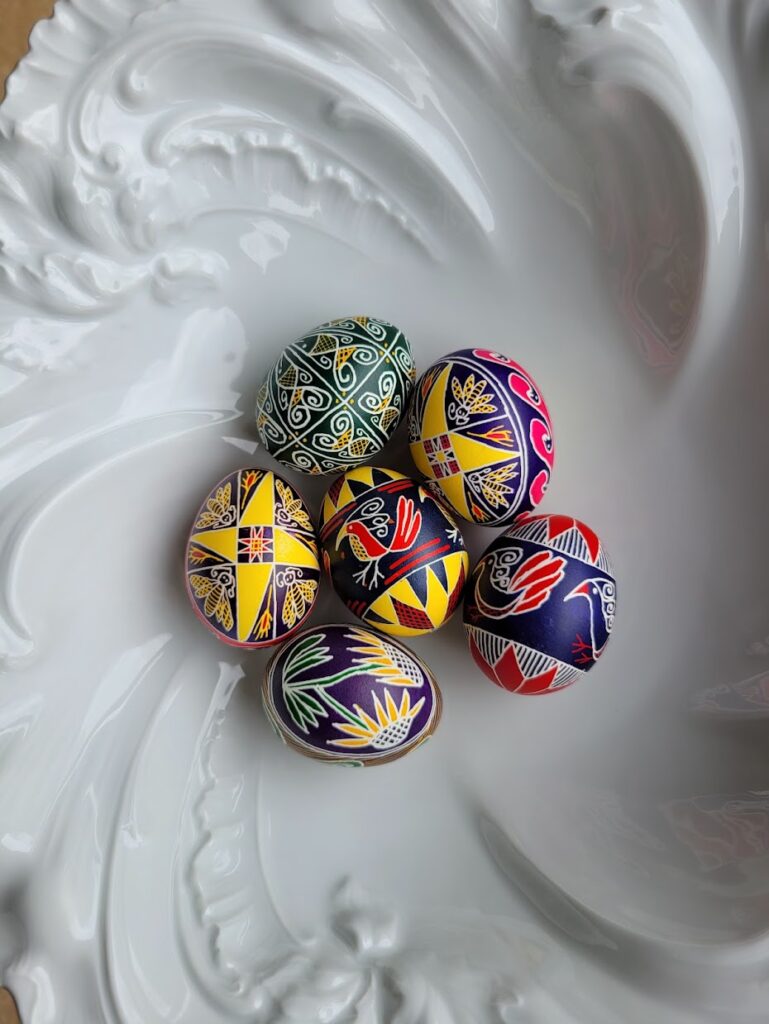
I have been in heavy novel-writing-mode so not much time for egg-writing. These are the 6 pysanky that I managed to do this year before Easter. Half of them have been gifted to family. Love working on pee wee eggs!
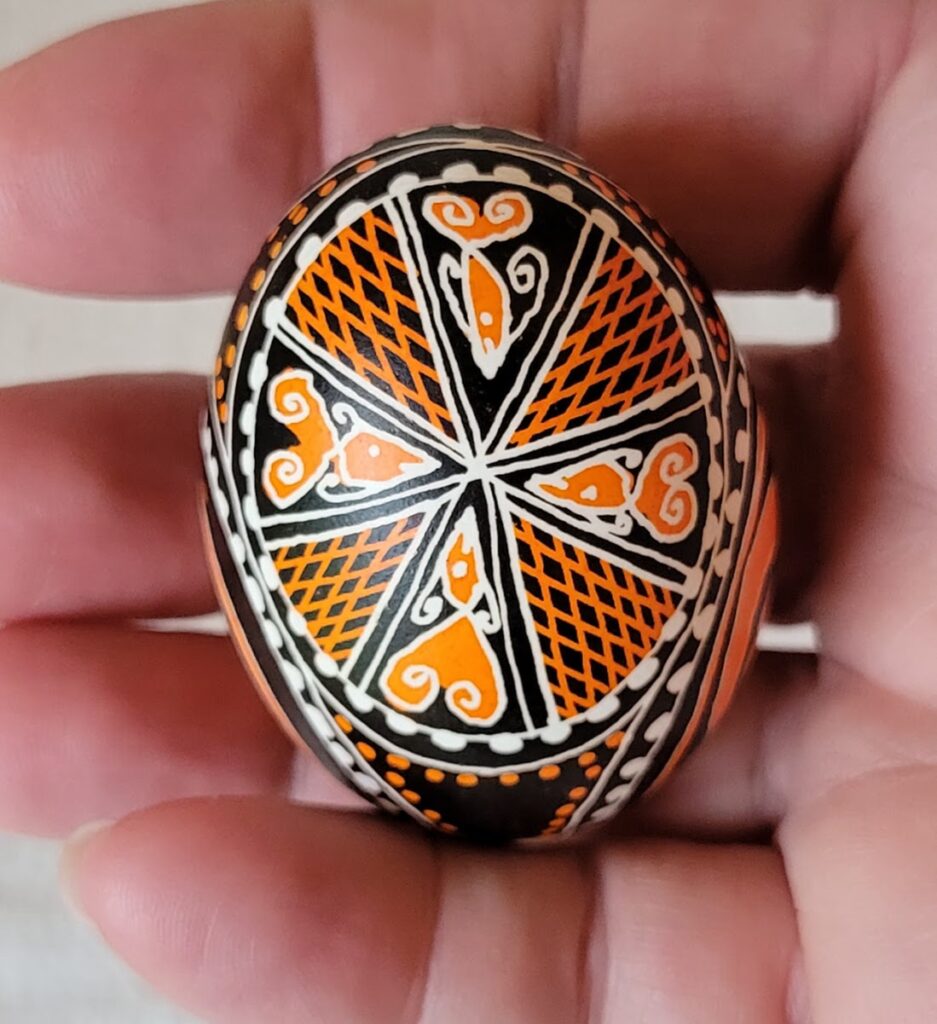
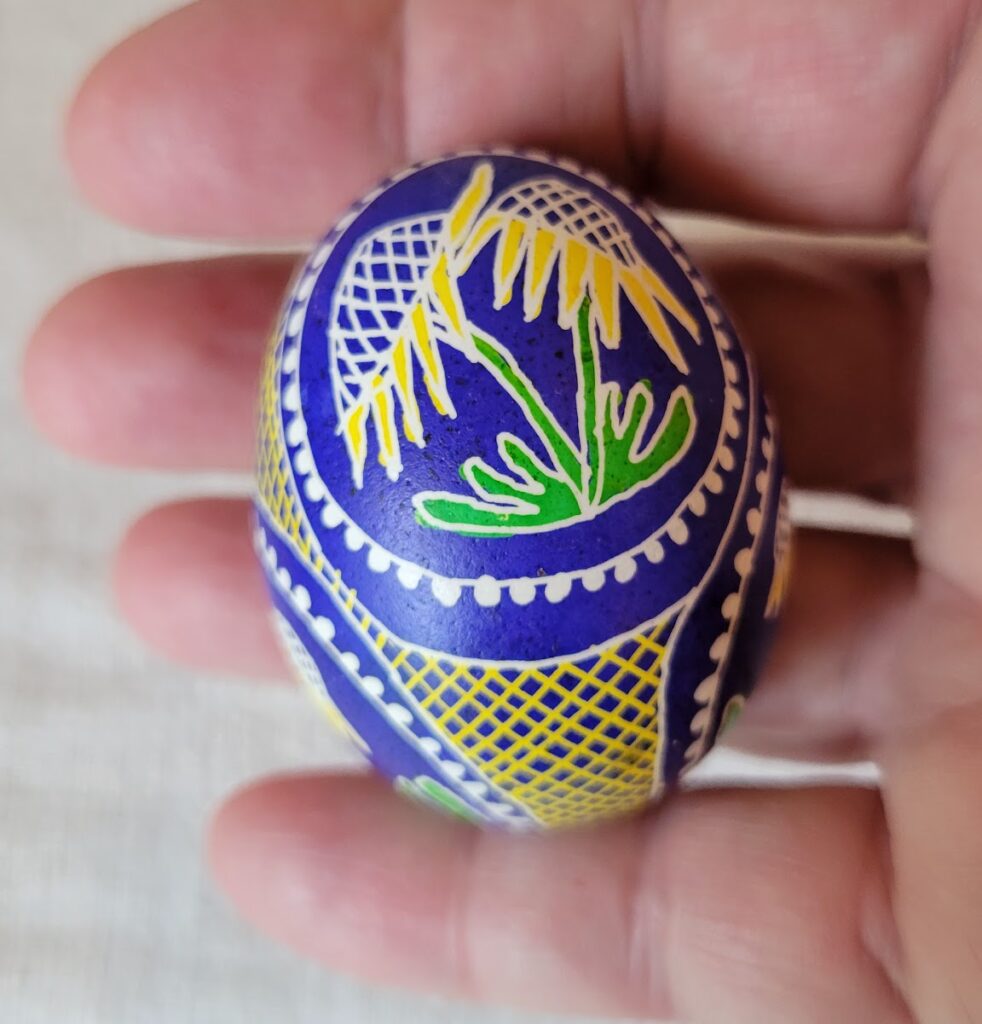
For World Pysanky Day. A traditional design from Zakarpattia on the left in memory of my Ukrainian grandmother, who was born there. On the right, a traditional design from Bukovyna, for my Ukrainian grandfather, who was born there.
I like to do pysanky of all different sizes. These first two are pee wee eggs. To give you an idea of the size difference, here’s my first pee wee beside an XL egg from last year:
Here’s a step by step (primarily so I can show you the nifty Tryzub nail art that Lacey at Hair Body Boom did for the Kobzar event:
wax covering up everything that will remain whiteI didn’t get a pic after the yellow dye. This is after the green, which doesn’t show on the final egg at all. These eggs seem to take the dyes to a deeper colour.after the purple dye bathWax melted off. No green!
Step one: lightly sketch outline in pencil, then cover up with hot wax everything you want to remain white.
Step two: soak egg in your next lightest colour of dye (yellow is a classic second colour).
Step three: cover up with hot wax everything you want to remain yellow.
Step four: soak in the next next lightest colour — in this case pink — then cover up with wax everything that you want to remain pink.
Step five: soak in your darkest colour.
Step six isn’t shown, but I use raw eggs with the guts still inside because the egg settles into the dye jar better. I remove the guts once all the dying is complete. I dribble hot wax onto the spot where I make my one hole so that the egg guts doesn’t disturb the dye and then I blow air with a syringe, followed by water with the syringe. I ensure the opening is free of filament (ie, if the hole is plugged, the egg will explode in the next step).
Step seven: put a soft buffing cloth on the tray of your microwave. Set your hollowed egg on top. Zap for 10 seconds. Immediately remove and buff with a clean soft cloth. Done! Finished egg above is the one on the far right.